Autel ITS600E/BT608E Report Management V1.2 Quick Guide
Introduce Autel ITS600E, BT608E Report Management V1.2 new features and operational procedure.
Report management V1.2 is a cloud-based comprehensive solution for archiving and business applications of reports generated by Autel diagnostic devices. Supports the cloud on reports for 5-inch diagnostic devices: including MaxiTPMS ITS600E, MaxiBAS BT608E, as well as the cloud on TPMS reports on ITS600E.Operational Guidance
How do I get the new features of report management V1.2?
Step 1. click Update on your diagnostic tablet to upgrade to the latest version.
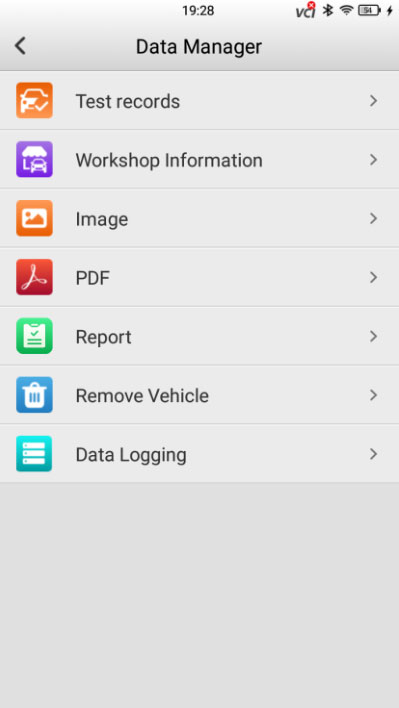
Step 2. click the "Data Management" icon to see the "report" icon appear on the screen, which is an important entry point for you to view, share, and manage the report.
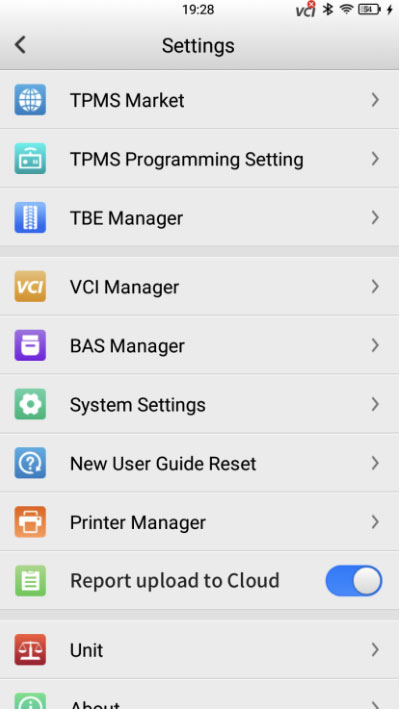
Note: when upgraded, the cloud feature on the report is turned on by default. If you want to turn off this feature, you can turn off the report Cloud on report feature in the settings, and the report generated when the feature is turned off will remain local only.
New Features
- Generation of TPMS Comprehensive diagnostic report.
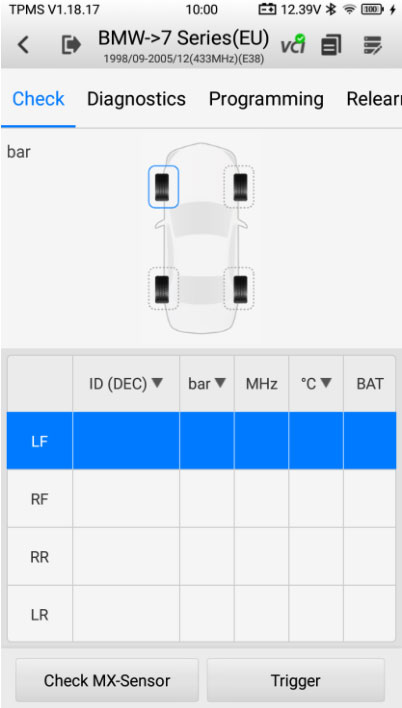
Premise: first of all, using Autel ITS600E and TBE equipment like TBE200E (you can also manually enter the measured values of other equipment under the "Wear Detection" function), respectively, to complete the TPMS, tire pattern-brake disk test.
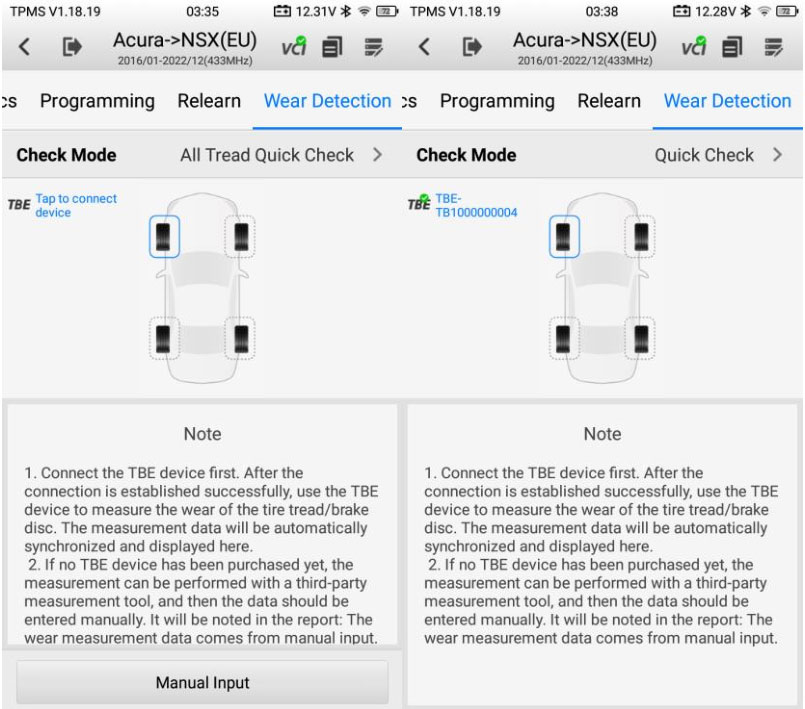
After completing the test, follow the steps below to implement the cloud on the TPMS comprehensive diagnostic report of ITS600E:
Step 1. on the TPMS diagnostic and detection page, click on the upper right corner

jump to the TPMS test report page.
Step 2. fill in the supplementary information for the test report and click below

to generate a report.
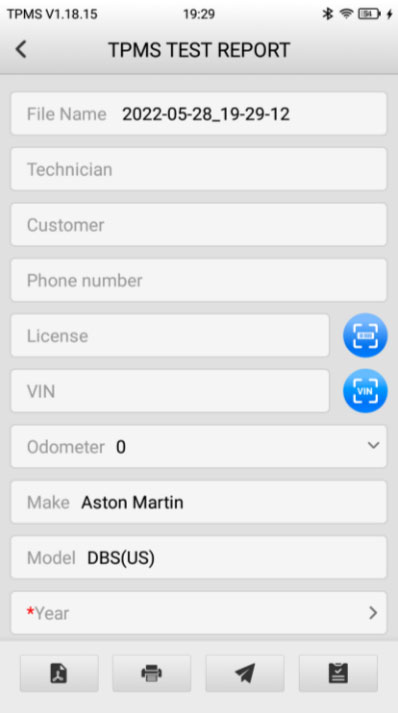
Step 3. the generated TPMS comprehensive test report will be saved under the TPMS
page in the report list.
- Generation of battery detection reports.
to save the report.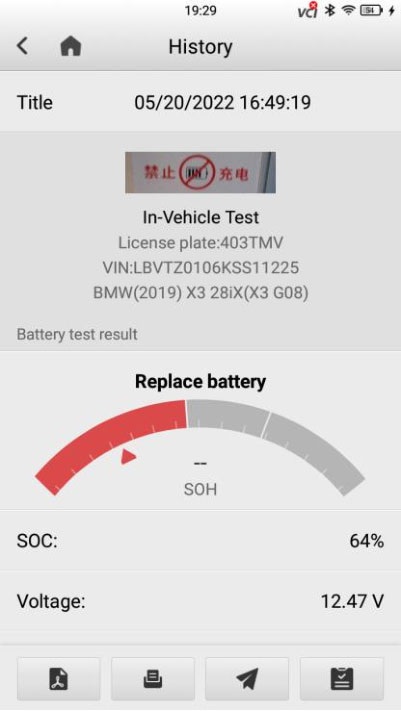
Step 2. the generated report will be saved under the battery page in the report list.
- Diagnostic report generation

Step 2. fill in the supplementary information for the diagnostic report and click the save button.

Step 3. the generated diagnostic report will be saved under the Diagnostics page of the report list.
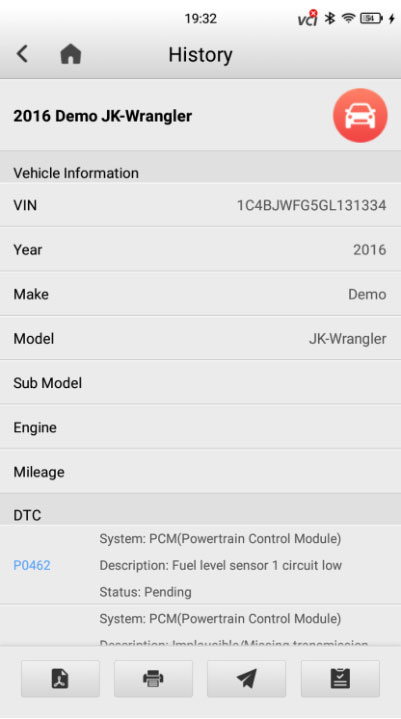
- Support for direct generation & preservation of reports from history
How to view and share diagnostic reports?
Step 1. Open the report list, you can jump quickly through the pop-up window button when the report is generated, or you can click on the report icon to enter the data management.
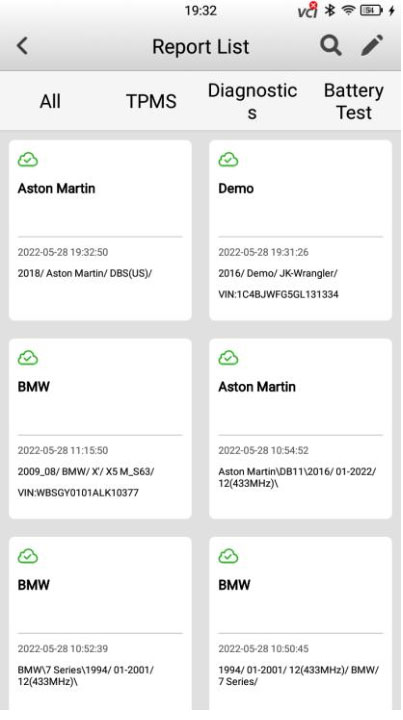
Step 2. click on any report and two buttons will appear to view the locally saved PDF report and share the reports generated in the cloud. It is worth noting that the report cloud sharing only on the report card on the cloud icon becomes "up to cloud"

When you have not uploaded the report to Cloud or the report is being uploaded, status
 or
or  will be shown.And in these status, the reporting cloud sharing feature is not available.
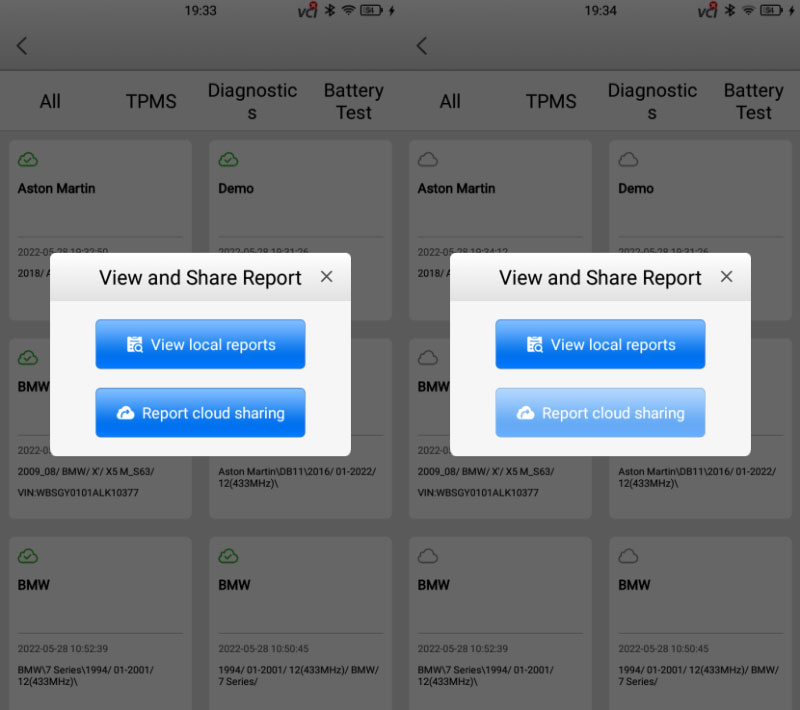
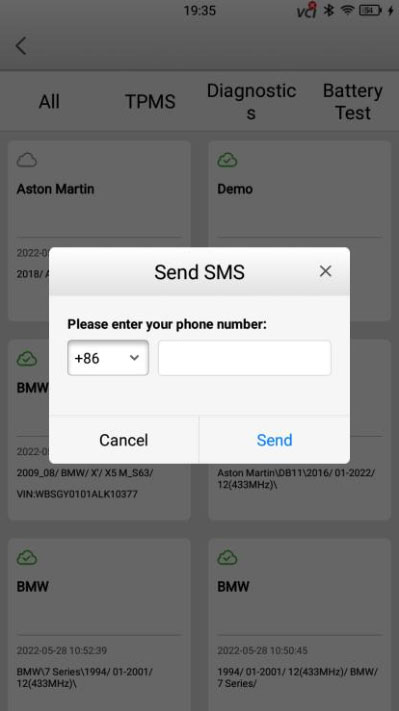
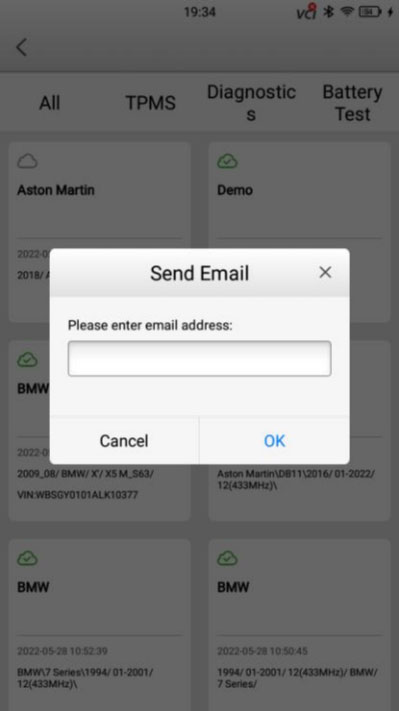
Step 3. Click the "report cloud sharing" button, there are three ways to share reports:
- scanning the QR code on the screen;
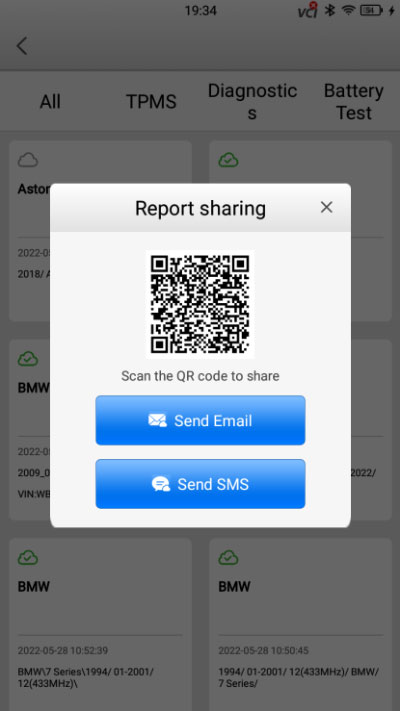
- sending email to the specified email address;
- sending text messages to the specified mobile phone.